
General Concepts & Initialisation
As explained in the introductory section the SDK provides you with what you need to integrate Trusted Shops features into any e-commerce platform.
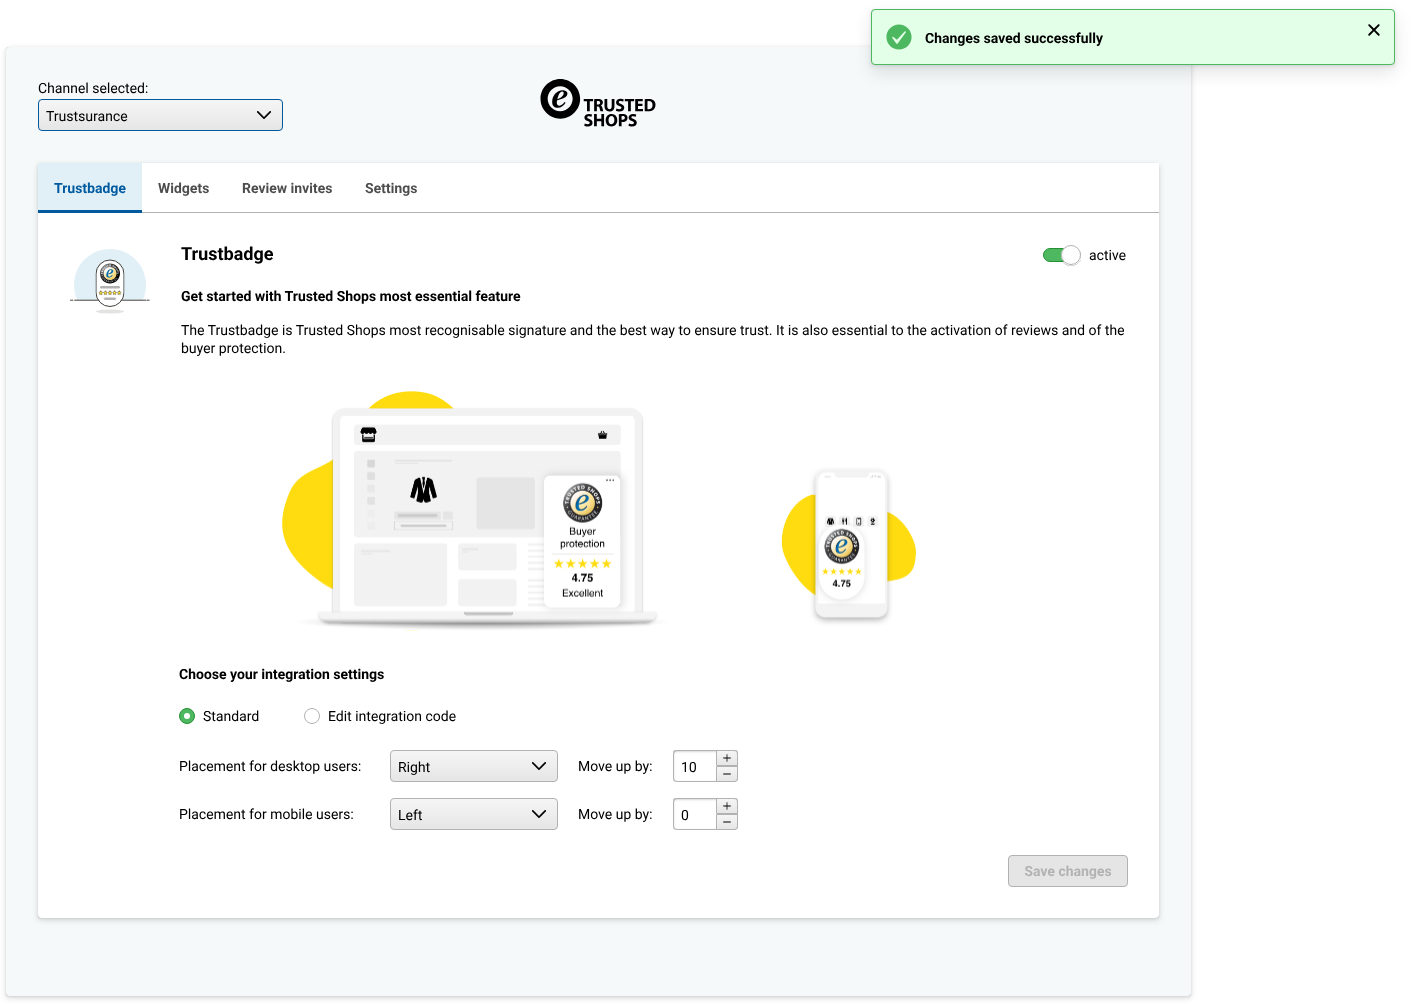
At the end of the integration, a shop owner should have a Trusted Shops dashboard within the admin or backend of their e-commerce shop.
From there they can manage the configuration for their TrustBadge, Reviews Widget, etc.
Plugin dashboard
The Trusted Shops dashboard to be placed within the admin section takes the form of an embed. The dashboard is placed within an HTML element marked with a special ID i.e: eTrusted-connector.
   <div id="app">
    ...
    <div id="eTrusted-connector"></div>
  </div>
Events Library
In other to interact with and handle all the different actions happening within the dashboard i.e: getting data, button clicks, etc, you will need the Events Library (download) which provides you with event hooks you can listen to and fire events when required.
<div id="app">
  ...
  <div id="eTrusted-connector"></div>
</div>
<script src="path/to/your/eventsLib.js"></script>
Base Layer
<div id="app">
  ...
  <div id="eTrusted-connector"></div>
</div>
<script src="path/to/your/eventsLib.js"></script>
<script src="baselayer.js"></script> <!-- line 7 -->
With your HTML structure set and event libraries pulled in, the next step is to set up our event registrar and set up our dispatchers.
From the above code you will notice the addition of an empty Javascript file baselayer.js (line 7), this file will contain our listeners and handlers.
The code below shows the initial structure for our base layer Script. Go ahead and copy and paste this into your baselayer.js file:
const EVENTS = window.eventsLib.EVENTS // line 1
const dispatchAction = window.eventsLib.dispatchAction
const registerEvents = window.eventsLib.registerEvents // line 3

const sendingNotification = (event, message, status) => { // line 5
    dispatchAction({
        action: EVENTS.NOTIFICATION,
        payload: {
            event,
            message,
            status,
            type: 'save'
        },
    })
} // line 15
const baseLayer = () => {
    registerEvents({ // line 17
        [EVENTS.GET_INFORMATION_OF_SYSTEM]: () => { // line 18
            console.log('GET_INFORMATION_OF_SYSTEM')
            dispatchAction({ //line 20
                action: EVENTS.SET_INFORMATION_OF_SYSTEM,
                payload: {
                    nameOfSystem: 'eCommercPlatformName',
                    versionNumberOfSystem: 'v0.0.1',
                    versionNumberOfPlugin: 'v0.0.1',
                    ...{}
                },
            })
        },
        [EVENTS.GET_LOCALE]: () => { // line 30
            dispatchAction({
                action: EVENTS.SET_LOCALE,
                payload: 'en-GB', // de-DE, es-ES, fr-FR, it-IT, nl-NL, pl-PL, pt-PT
            })
        },
        [EVENTS.ERROR]: () => { // line 36
            console.log('TS: eventError', error)
        }
    })
}

baseLayer()
The Events Library we pulled in earlier exposes the event handlers as a global variable i.e.: window.eventsLib.EVENTS. We also have two functions exposed as well thus: window.eventsLib.dispatchAction and window.eventsLib.registerEvents. In our updated baselayer.js script all three have been assigned to constant variables (lines 1 to 3).
Event registrar (registerEvents):
registerEvents):The event Registrar function (line: 17 above) is responsible for capturing and making actions performed within the dashboard accessible to us depending on the type of event fired. The registrar will execute the code under the right event.
For example on line 18 We are listening to the [EVENTS.GET_INFORMATION_OF_SYSTEM] event which is fired and used to set basic store information when the page loads up.
Action dispatcher (dispatchAction)
dispatchAction)This function is used to send "input or instructions" to the dashboard. For example on line 20 once the [EVENTS.GET_INFORMATION_OF_SYSTEM] event is fired we dispatch the EVENTS.SET_INFORMATION_OF_SYSTEM action to set the e-commerce store information. Here we can also execute other arbitrary code as well e.g.: store data in a database.
The Dispatch takes an object containing an action name and a payload, The action is the activity you are performing and the payload is the data needed to complete the activity.
On lines 5 to 15 we also define a function sendingNotification which uses the dispatchAction to send out notifications. We define this as a function because it's going to be one of the most used dispatchAction actions.
Notification pop-up
An example of the notification pop-up is shown below.
Event lists
The list of all available registrar and dispatch events can be found in the [event reference] section.
GET_LOCALE event (EVENTS.GET_LOCALE)
This registrar (line:30) is used to set the language for the dashboard. To set the language we dispatch the [EVENTS.SET_LOCALE] action and provide the locale as the payload.
ERROR event (EVENTS.ERROR)
This registrar (line:36) is used to report internal errors from the connector layer.
Connector Script
Finally lets talk about the connector script. This is the script responsible for populating this container is known as the connector script. It contains the dashboard component as well as makes network calls required to fetch and transmit data to and from your plugin integration.
Please download and add this library to your project and reference it within your HTML file as shown below. You can then interact with it using Event Handlers provided by the Event Library
<div id="app">
  ...
  <div id="eTrusted-connector"></div>
</div>
<script src="path/to/your/eventsLib.js"></script>
<script src="baselayer.js"></script>
<script async src="path/to/your/connector.umd.js"></script>
Sample complete folder structure
Your complete folder structure should roughly look something like this:
.
 ├── project-folder
 │   ├── index.html
 │   └── baselayer.js
 |   └── connector.umd.js
 |   └── eventsLib.js
Execution order
To ensure all required scripts are available in a timely fashion its important to pull in all three scripts in the order:
1. The Events library
2. Your Base Layer script
3. The connector libraryThus Events library is the first and the Connector library is the last to be pulled in.
Download links
Demo app
Depending on how familiar you are with Typescript and the NodeJS ecosystem, you might opt to base your integration on the demo app we have provided.
Throughout the integration walkthrough, we will highlight the corresponding code within the demo app.
What's next?
Next, we take a look at the authentication process. Please be sure to have your development credentials ready as this will be needed for the next section.
Updated almost 3 years ago